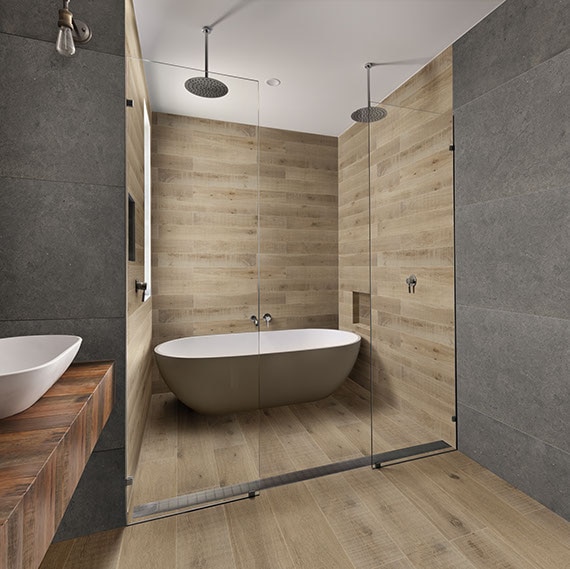
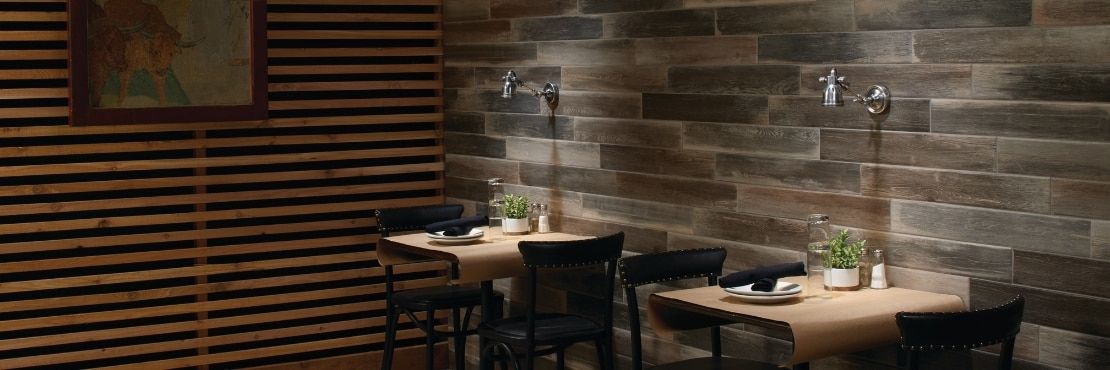
Wood Plank Accent Wall:
Avoid These Blunders at all Costs!
Blunder #1 Mis-measure, Mis-cut
If you opt to cut up a sheet of wood or hardboard there are innumerable opportunities to mess up. You’ll have to keep your saw and measuring tape handy always—but even then, there are no guarantees.
Using tile eliminates much of the cutting since you only must make the cuts to fit the planks into the space rather than making long horizontal cuts to create planks.
BLUNDER #2 NOT LEVELing
Don’t count on the ceiling or floor to give you a point of reference. The ceiling line and floor line are generally not perfectly level. You may find that your planks start to take on a bit of an angle after a few passes if you use the ceiling or floor as your guide.
You may need to create a slight gap at the top or bottom of your plank wall to ensure your tiles are level. In most cases, this gap will not be noticeable. Keep checking your planks with a level to make sure you’re staying level all along the way.
Blunder #3 Warping
One of the biggest pains when it comes to installing a plank wall is warping. Hardboard can start to warp—to the point of popping out the nails—before you’ve even finished putting up all the planks. Wood has the same problem but at a much slower rate. If you live in a humid area, you can count on your plank wall changing over time as it responds to the moisture in the air.
Tile eliminates the fear of warping. If you install the tile properly, it will not move or warp. Check with a professional tile installer to ensure the tile is installed properly.
Blunder #4 Discounting the Finish Work
With wood, it’s very likely that you will have to caulk, nail holes or fill gaps with drywall mud to have a smooth, finished surface. Additionally, you’ll need to sand it then possibly paint it – and as it ages, you’ll have to take those steps again to keep wood looking its best.
Since tile is a finished product, there is no sanding or painting involved. Though you’ll still need to grout the tile, once it’s complete your plank wall will continue to add beauty to your home for years to come with little maintenance.

Blunder #5 Gaps Collect Dirt . . . and Other Stuff
The small gaps between planks are what make a wood wall interesting, but there is a downside – dirt and debris can get in those gaps. And while dirt is one thing, critters are quite another story. Though you can vacuum the gaps there isn’t much you can do if creatures get behind the planks.
Tiling creates a completely sealed surface and retains the classic look of a plank wall. Grout fills gaps so nothing can get in.
Now that we’ve walked you through some of the challenges of designing a plank wall, you can make your project a success by avoiding these common pitfalls.